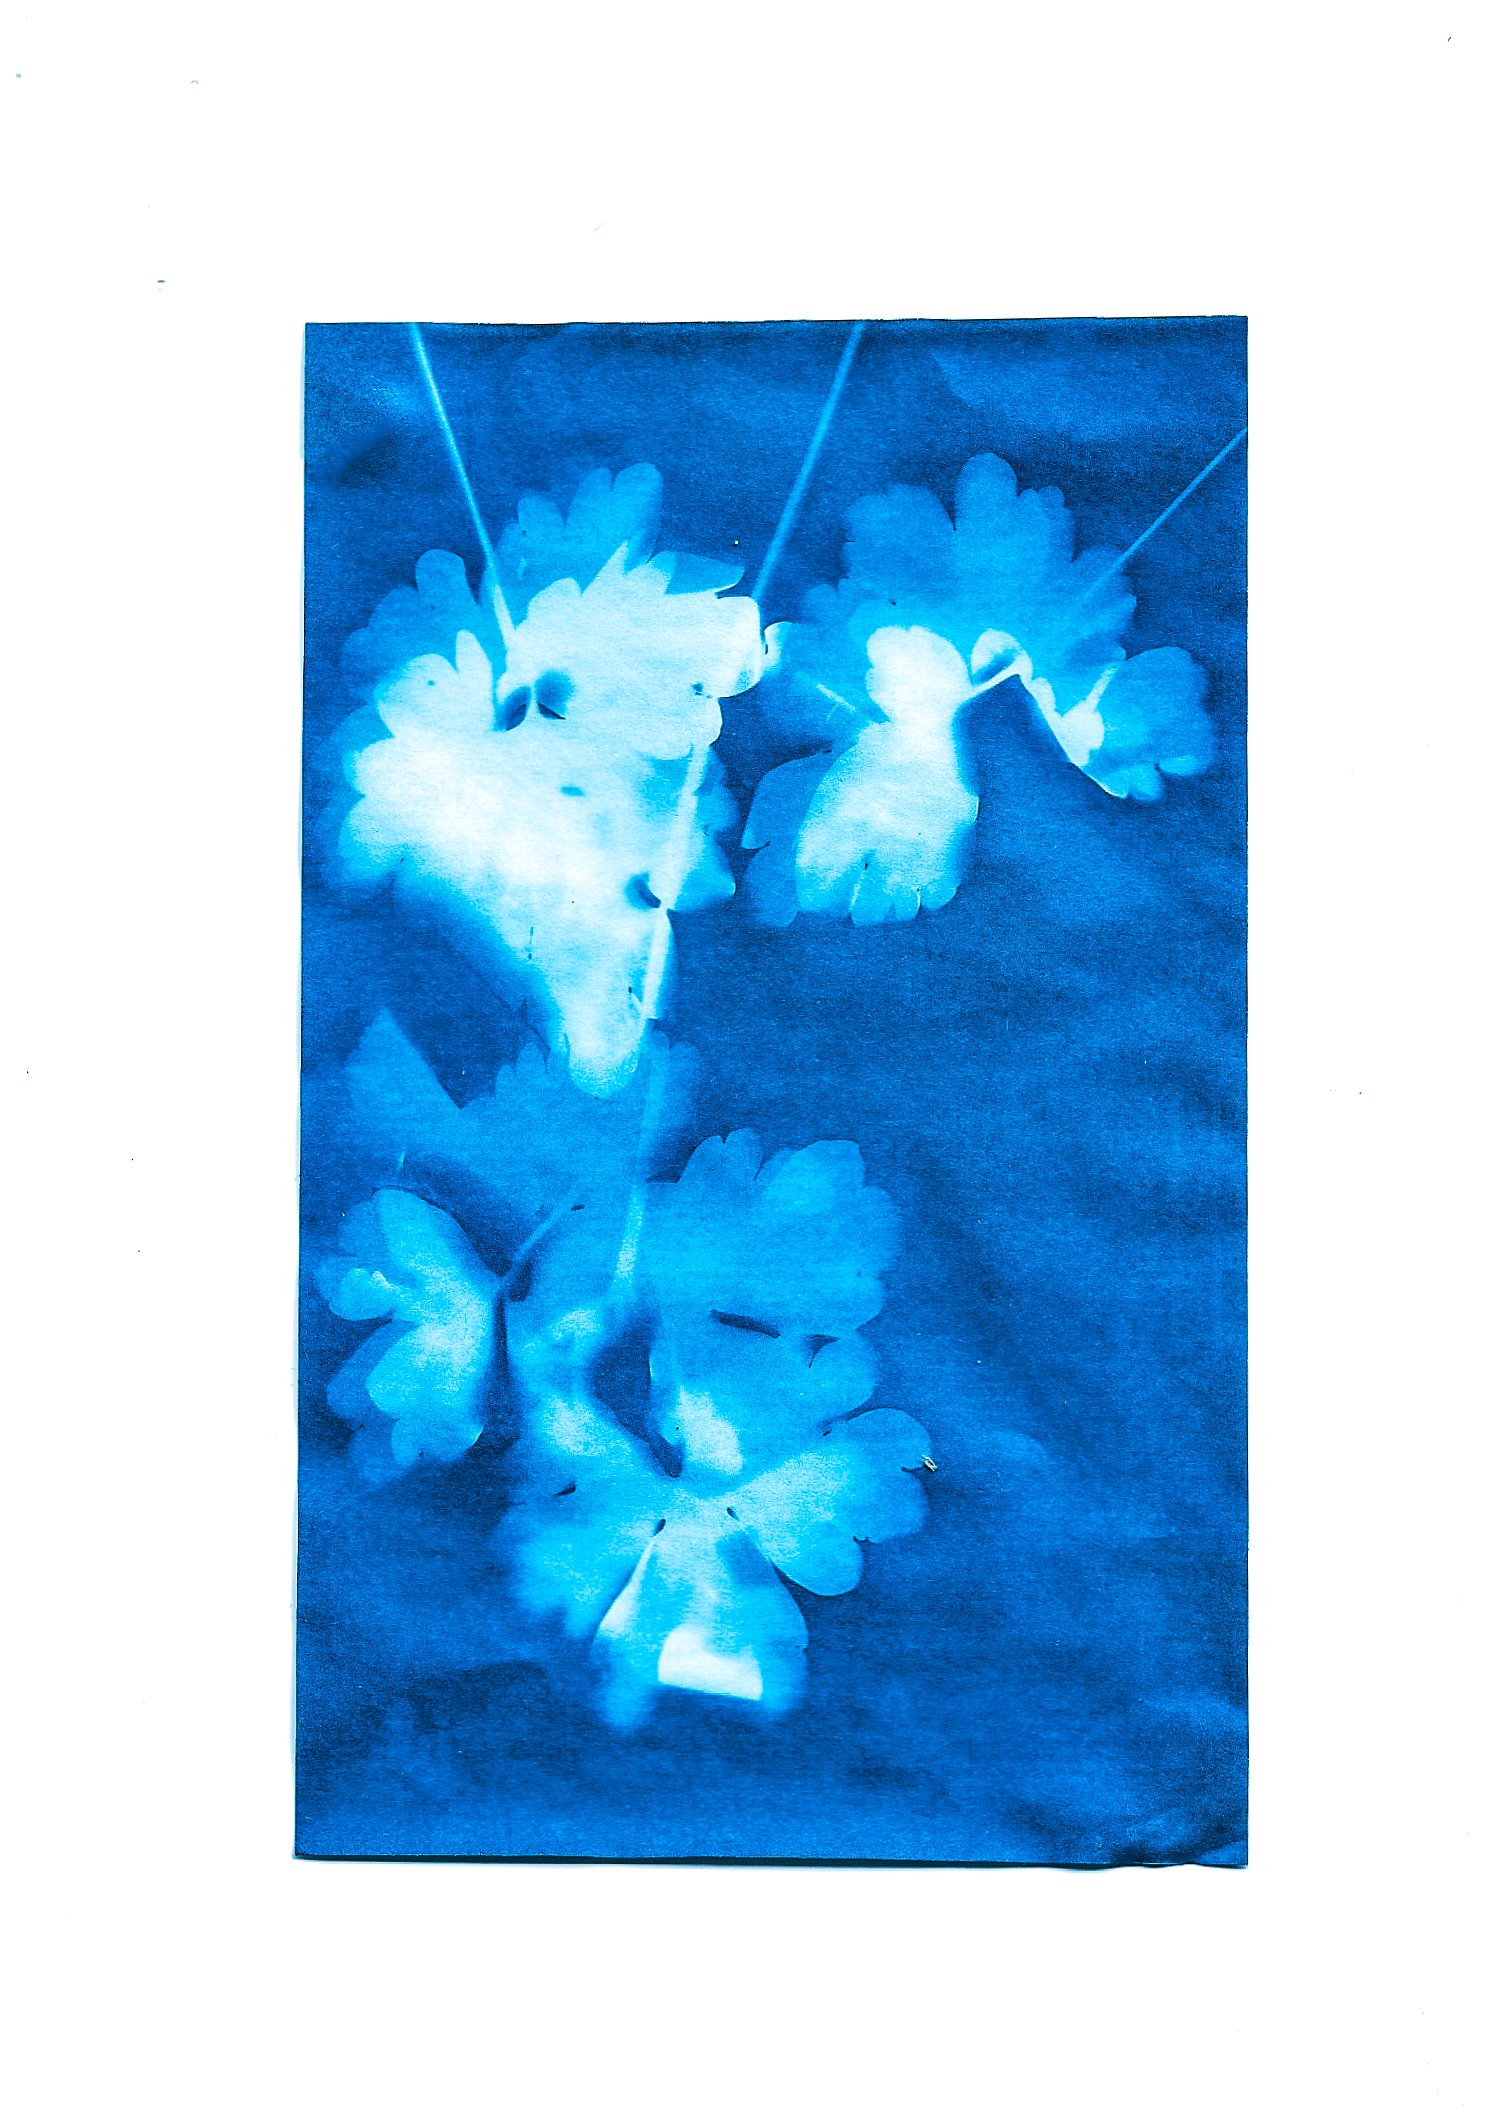
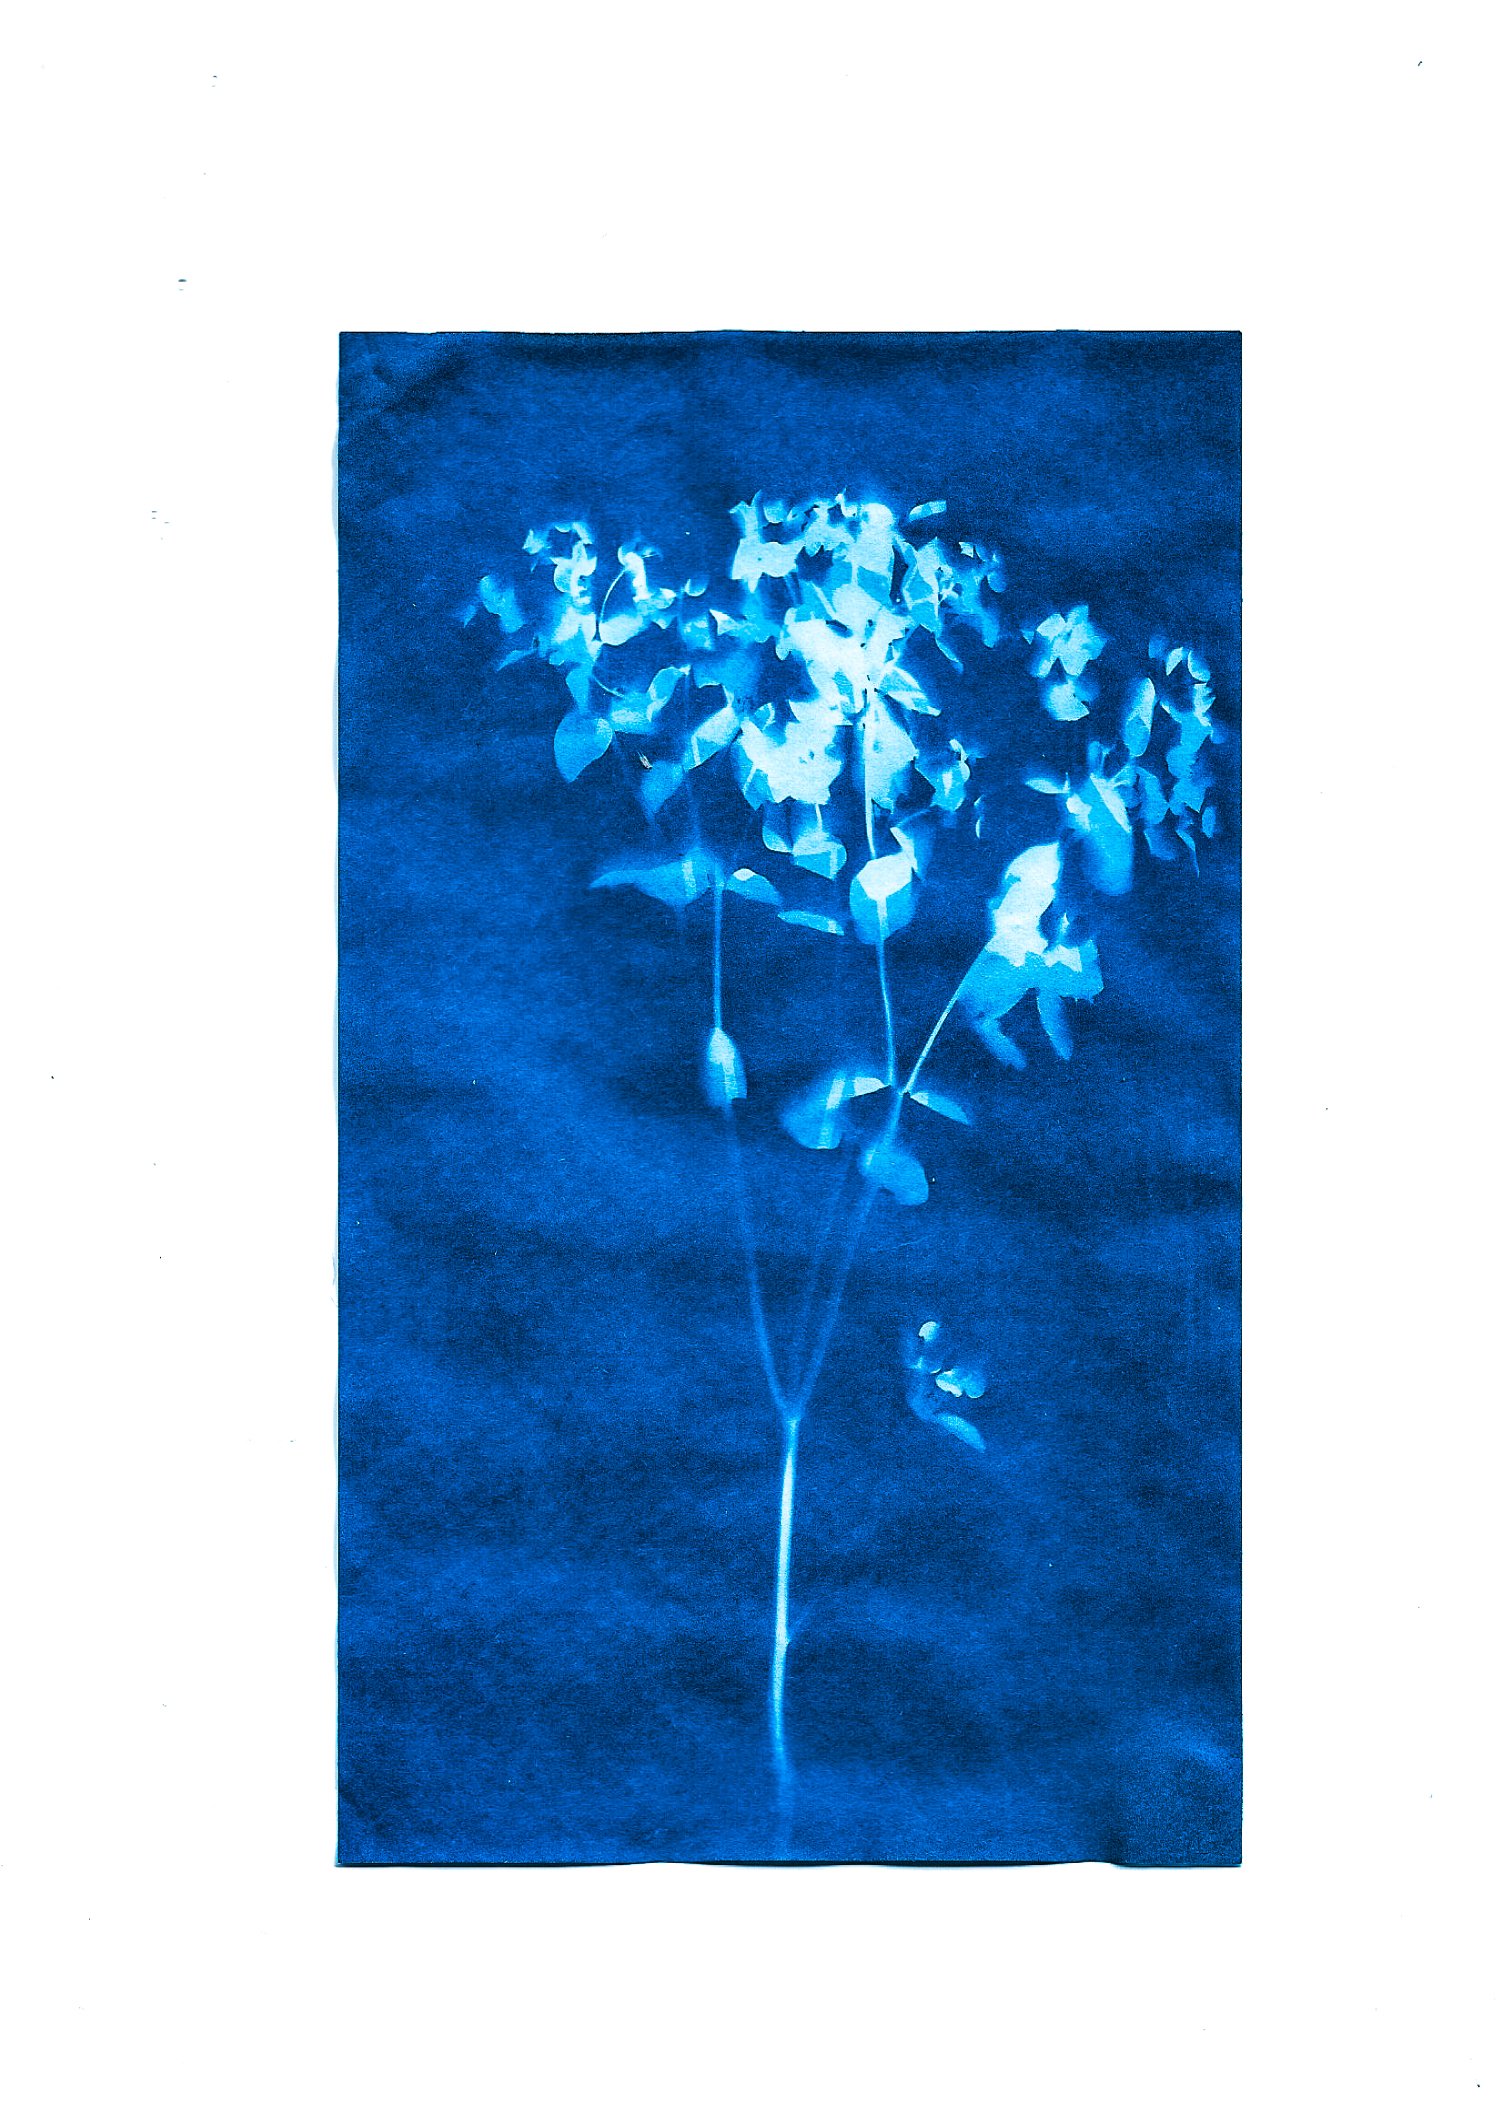
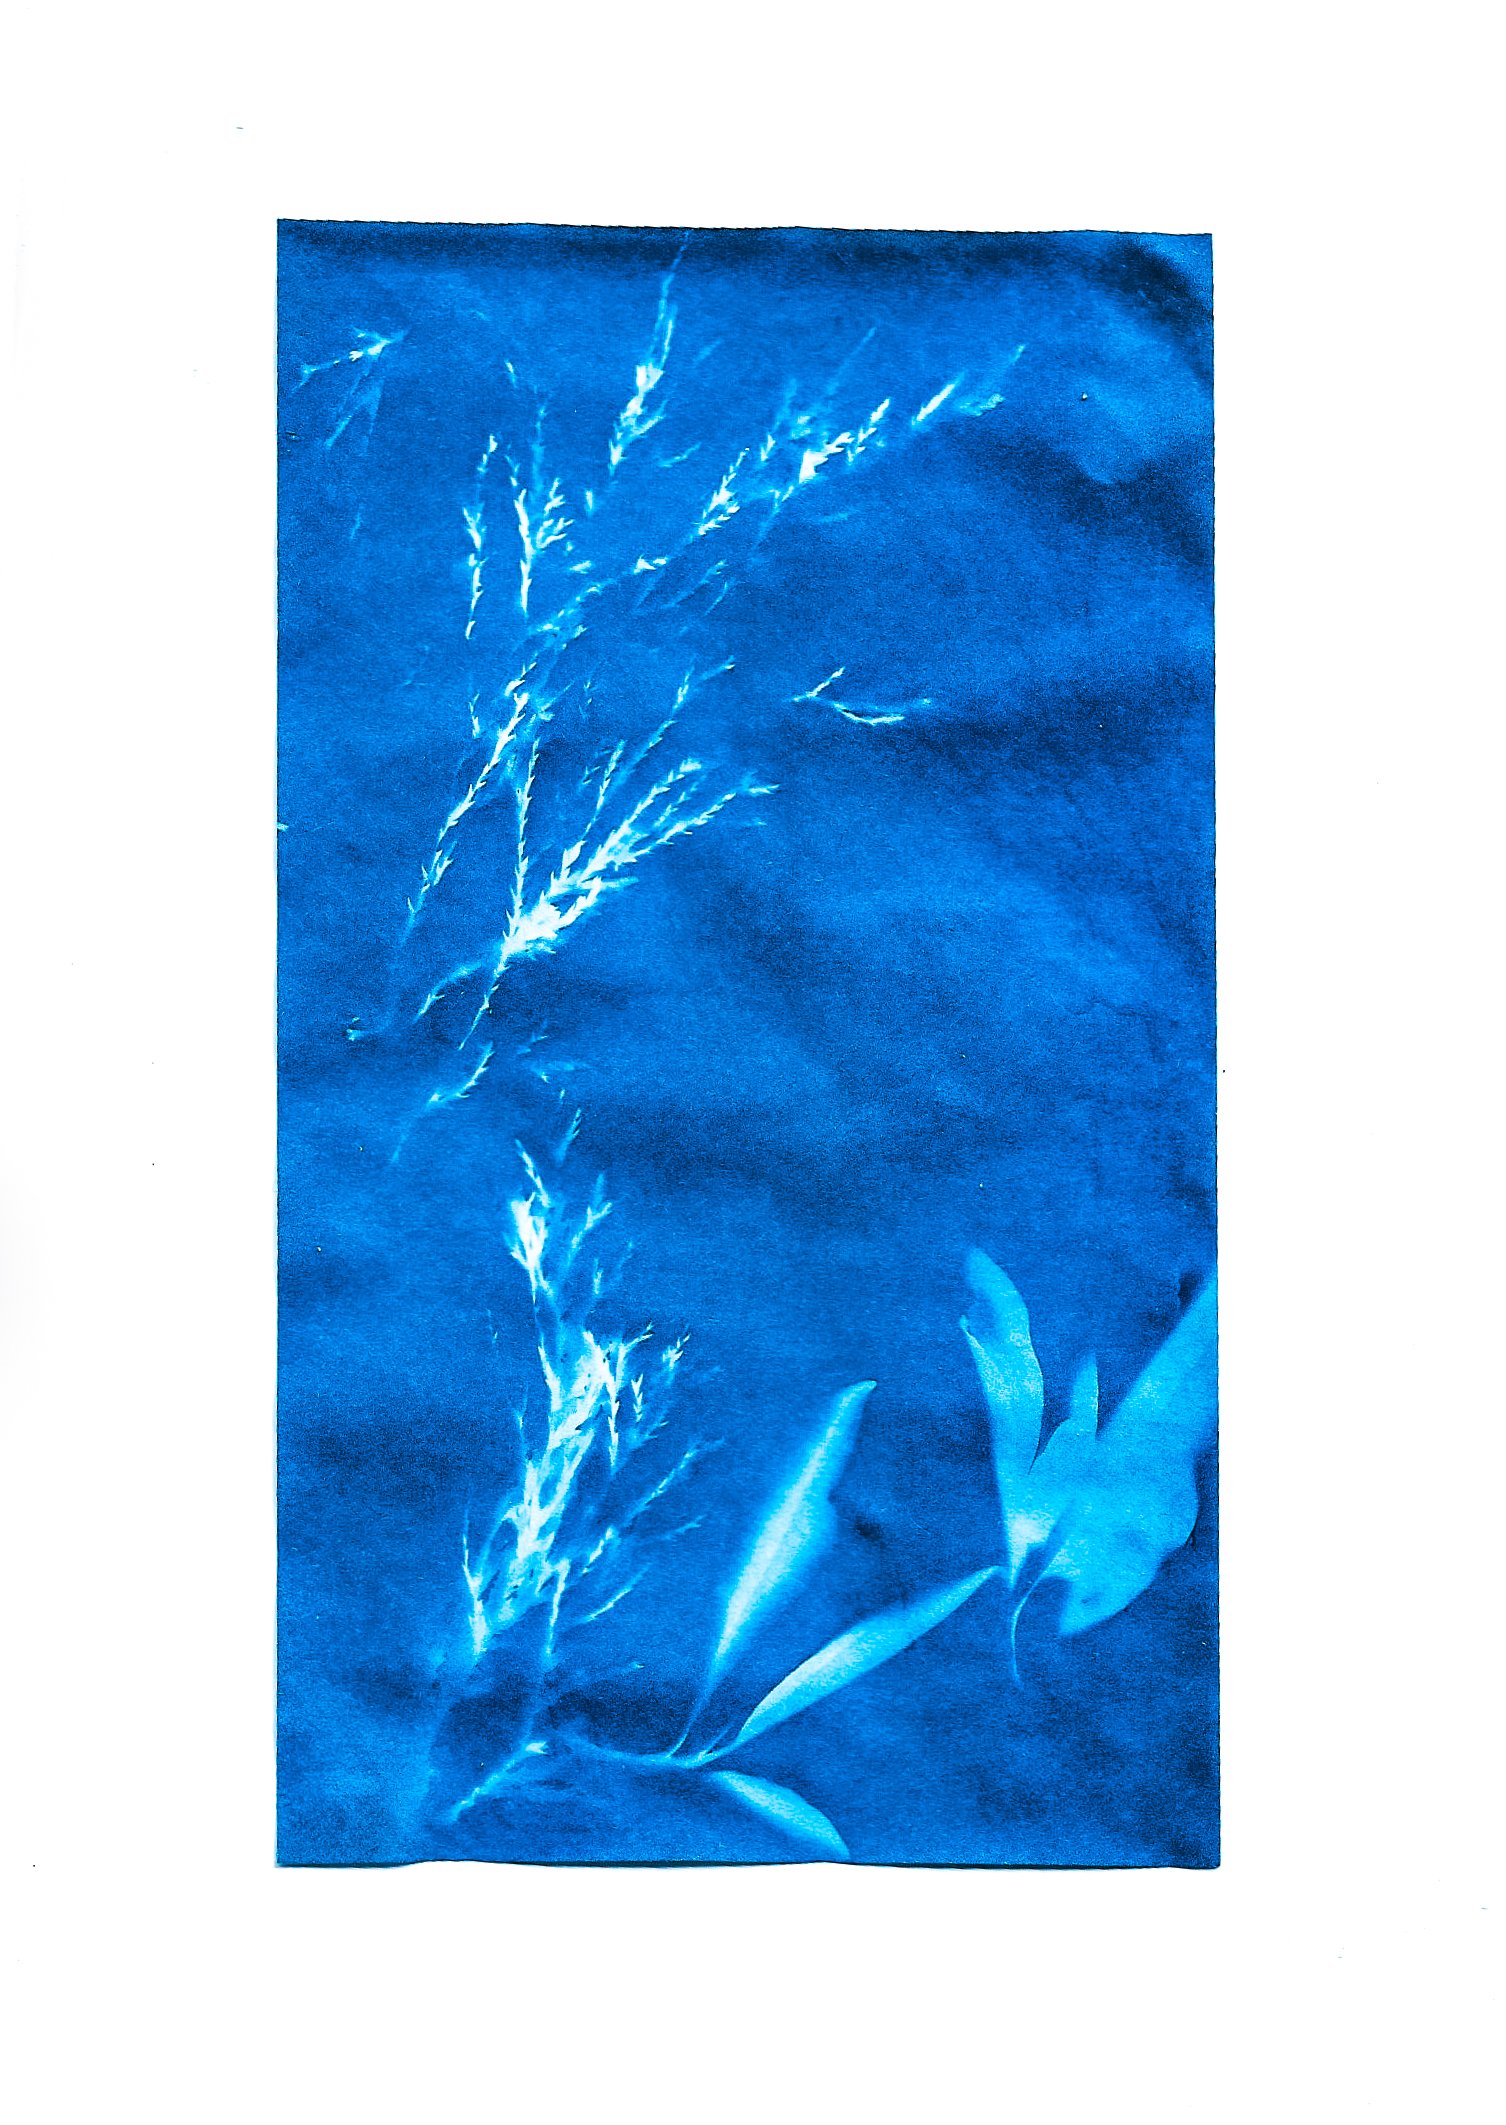
How do you create a sun print?
The term "Sun print" commonly refers to a type of photographic printing method known as "cyanotype." This technique involves using sunlight to create artistic images that resemble photographs.
The Cyanotype, also known as a sun print, will be the focus of this blog post.
The cyanotype printing method, developed by Sir John Herschel in the 1840s, produces cyan-blue prints. Popular in the 19th century for its cost-effectiveness and simplicity in reproducing photos and architectural designs, cyanotype prints turn blue when exposed to ultraviolet light. These prints are created using a solution containing iron compounds.
Let's kick off this blog by delving into the art of creating a Sun Print.
This task is a fantastic way for families to have fun together while appreciating the beauty of nature and the environment.
STEP 1
Explore the outdoors in search of items to utilize in creating your sun prints.
Encourage your child to search for items with distinct shapes or crisp edges to make silhouettes on photo paper. While they gather these objects, take note of the different shapes and sizes of leaves, flowers, rocks, and other items they come across.
STEP 2
In a shaded area, place the sunlight-sensitive paper on a flat board, making sure it is level. Arrange the objects chosen by your child on the paper for sun art.
STEP 3
Before exposing the items to sunlight, gently press and position the transparent acrylic sheet over them. This will secure the items in place to prevent them from being blown away or shifting during the exposure period.
If needed, use small stones to weigh down the acrylic sheet.
It is recommended that adults handle the acrylic pieces to avoid breakage, especially if they have sharp edges.
STEP 5
Place the sheet of paper into a container filled with water for a duration of one minute. For a darker hue of blue, incorporate a small amount of lemon juice into the water, as recommended on the packaging.
Thank you for taking the time to explore and assess this blog discussing the art of sun printing, which can add value to your family's recreational activities.
Whats the next step?
Feel free to reach out via email to inquire about this process or my upcoming family sun print day.
On the 12th of April, I had a Sun Print experience at the Yardley Art Centre. Would you like to read about it?
If you're interested in furthering your knowledge about your camera, consider enrolling in my upcoming 6-week introductory course at Yardley Arts Centre.
Personalized one-on-one tutorial sessions are the focal point.


